Collective Asset
![]()
A Collective Asset is composed of static and skeletal assets. You may create collective assets and add them to shots like usual assets. The main differences between collective assets and static/skeletal assets are:
You don't need to convert a Collective Asset into Unreal format. However, all the contained static assets must be already converted.
In a Maya shot, you can transform a collective asset by the top collective node, or manipulate each of the component assets.
You won’t find the collective asset in the converted Unreal maps but only the component assets. Collective assets exist only in the Maya shots as a means of grouping various static assets.
There are 2 ways to prepare a collective asset:
Method A.
Create an asset in PiManager.
Check out the asset.
Add a collective asset node with "Collective Asset" tool.
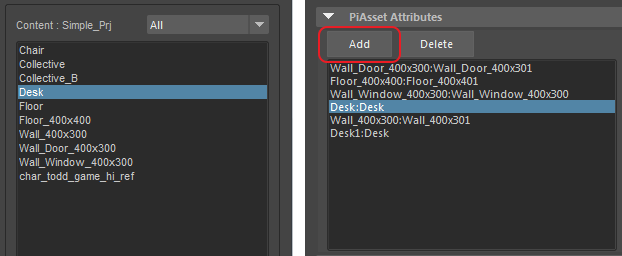
Go to the Attribute Editor with the collective asset node selected. You will see the component list with "Add" & "Delete" buttons.

Select the asset in the PiManager "Content" pane and click the "Add" button to add it to the collective asset. Add the assets one at a time.
Save or check in this collective asset. No conversion needed.
Method B.
- In a shot, use the "Collective Asset" tool to add a collective asset node.
- In the Outliner, use the middle mouse button to pick and drag the component assets under the collective asset node. Only static assets can be added.
- Go to PiManager, click the “Extract Assets” button to complete the creation of the collective asset.
On most occasions, Method B is more efficient.