PiRender
![]()
PiRender is the tool for rendering images or videos from your shots.
PiRender can render Beauty, Alpha, Depth, Ambient Occlusion, Normal or Green Screen passes at any resolution just like with any other renderer in Maya. It includes limited support of Maya Render Layers.
Description of PiRender UI:
File Output

Output Path: where the output images or video files will be saved. The default path is the “images” folder within the Maya project of the current shot.
File Type: the following file types are supported
- png
- tif
- jpg
- bmp
- RLE mov
- h.264 avi
- mp4
Output Options

Start Frame/End Frame: the output range. The Start/End frames are aligned to the Maya timeline settings by default.
FPS: the frame rate of the output image sequence or video file. By default, it is consistent with the Maya setting.
Width/Height: the output resolution. The resolution can be set up to 8K(7680×4320) or even higher, depending on the memory size of your video card. (Supersampling requires more memory)
Lock Aspect Ratio: this option locks the aspect ratio of the output images or videos.
Render Options

Anti-Aliasing: the level of supersampling in anti-aliasing.
- none: no supersampling. However temporal anti-aliasing (TXAA) is on and working.
- low: 2x2 supersampling
- med: 3x3 supersampling
- hi: 4x4 supersampling
NearClip: the distance between the camera and the near clipping plane. Try a smaller value when objects close to the camera are clipped and become invisible. The units are cm.
Update Shot: check this option if you modify the shot and haven’t converted it yet before rendering. This is to make sure that the latest changes are reflected in the output.
Skip Pre-roll: skipping pre-roll can save some time on renders, but it should be used only when no simulation or other effects are present. For some effects like particles, cloth simulations and auto exposure, it is necessary to run the shot from the beginning regardless of the frame range you choose to render. This is in order to achieve the desired result of the effects and to maintain uniformity in all layers.
Camera List: All the cameras in the current shot will be listed here. You can check from which camera view(s) to render from. If you add or delete cameras, press the “Refresh” button to refresh the camera list.
Passes and Layers
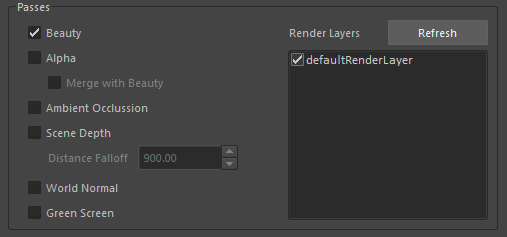
PiRender can output the following passes
Beauty: Beauty: the final image with all effects applied.
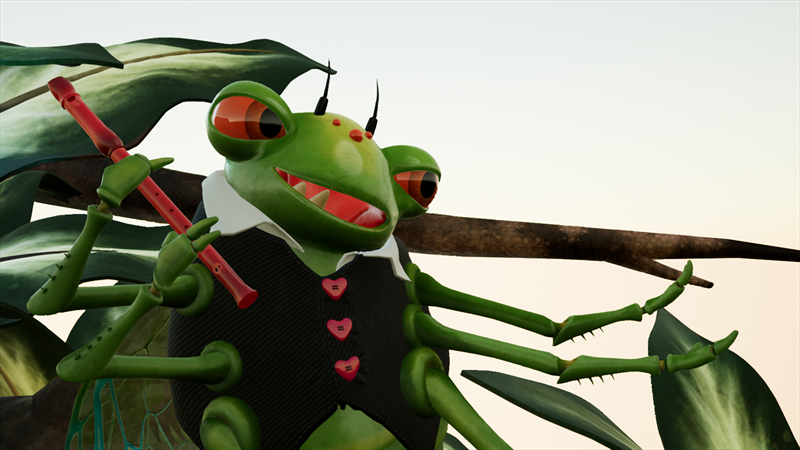
Alpha: this pass contains transparency information and is used for background compositing. Rendering Alpha channels from translucent objects in UE4 requires materials used to have the “Separate Translucency” option checked.
- Merge with Beauty: enabled when you select the file type which supports RGBA format (png, tif & bmp). Check this option to generated “Beauty” images with alpha channel.

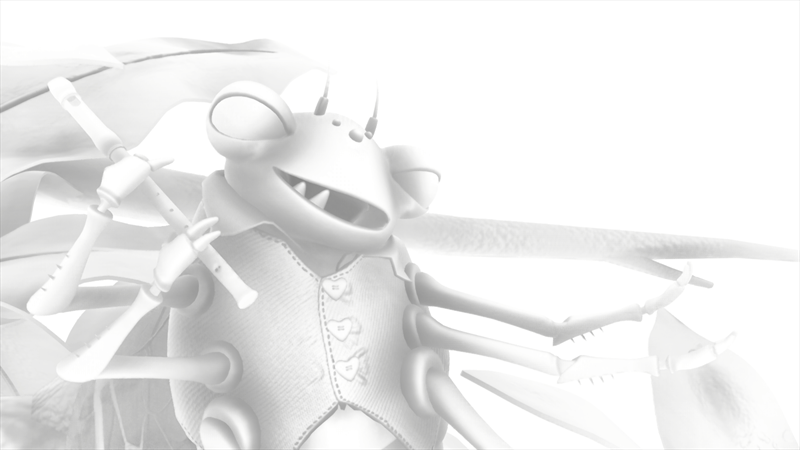
Ambient Occlusion: this pass renders each pixel’s exposure to ambient lighting.
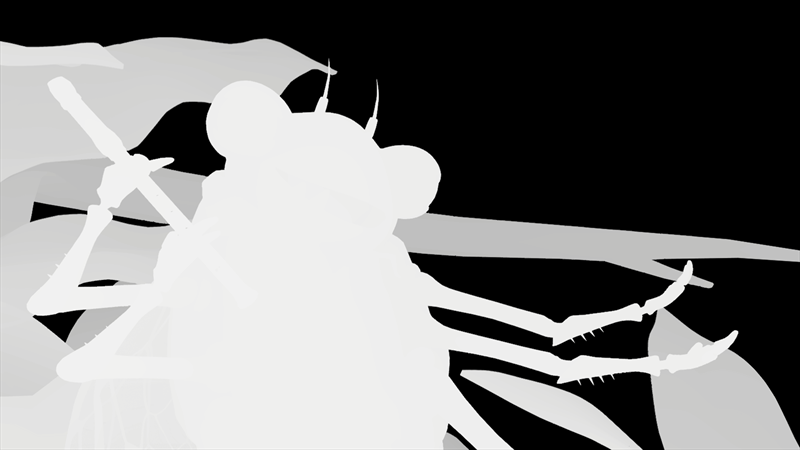
Scene Depth: this pass contains information relating to the distance of surfaces to the camera.
- Distance Falloff: the rate at which the depth map goes from close to far (or from white to black)
World Normal: this pass contains world normal information that can be used for compositing effects.
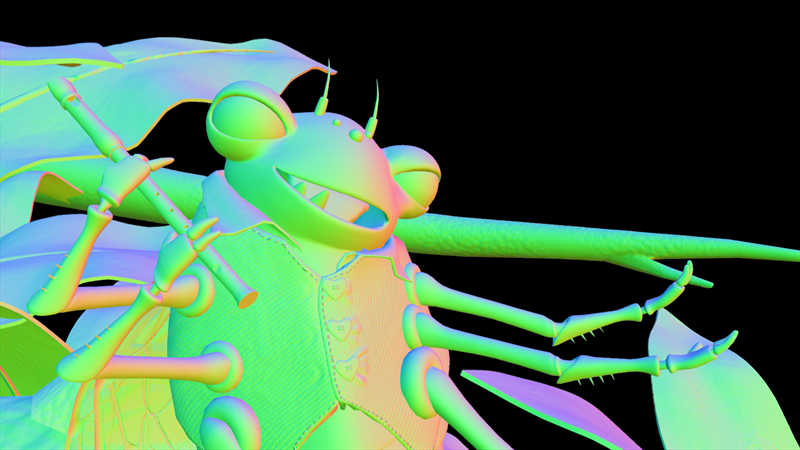
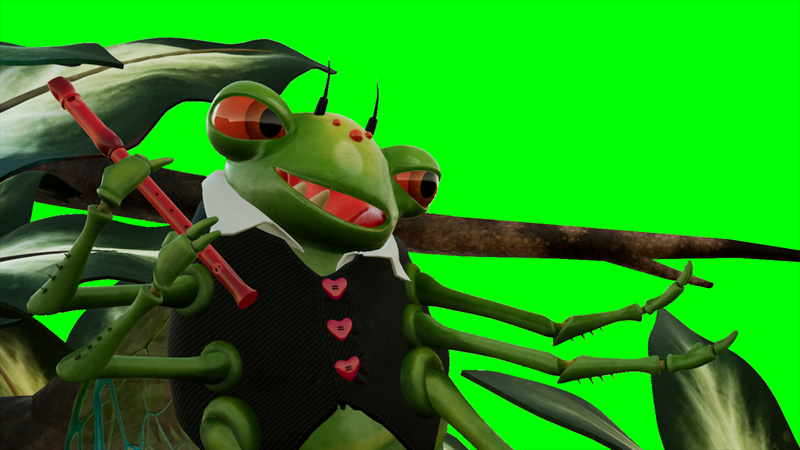
Green Screen: this pass is for compositing images using the chroma key method.
Render Layer
You may set render layers in Maya, and PiRender will output them Separately.
The following screenshots show the render layer setting in Maya (left) and in PiRender (right).
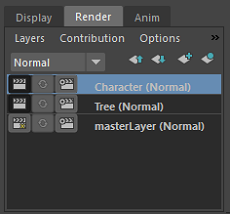
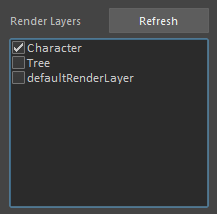
Press the “Refresh” button to refresh the list when you add or remove render layers in Maya. Check the layers to be rendered from.

Click “Render Current Frame” to render just the current frame;
Click “Render” to render image sequences or videos of the chosen range;
Click “Close” to close the PiRender window.