Project Settings and Preferences
After activating PiStage, The PiStage Panel will be shown. There are three tabs: “Tools”, “Settings” and “Preferences”.
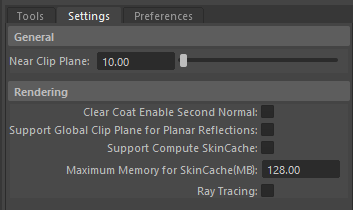
Click the “Settings” tab to display settings of the current project.

General Settings
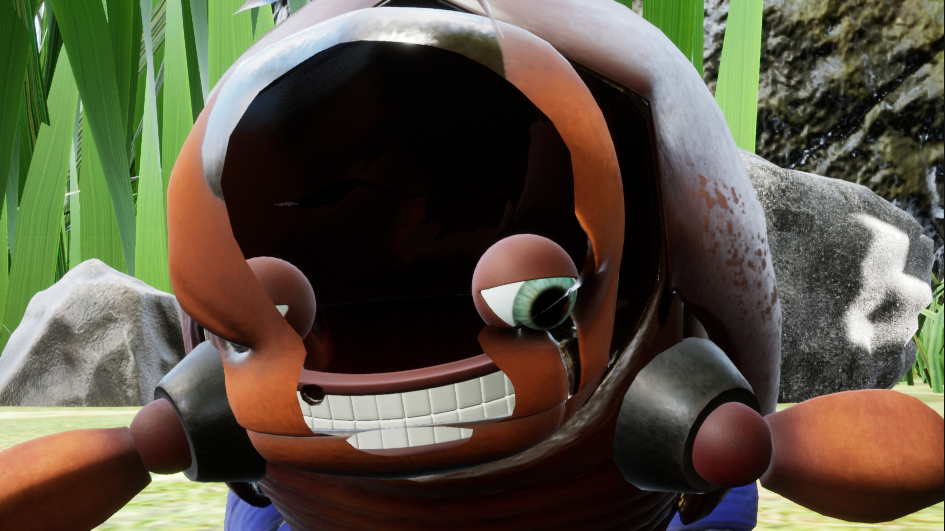
There’s only one setting : “Near Clip Plane”. When an asset is small and the camera is extremely close to it, there could be unwanted clipping like this.

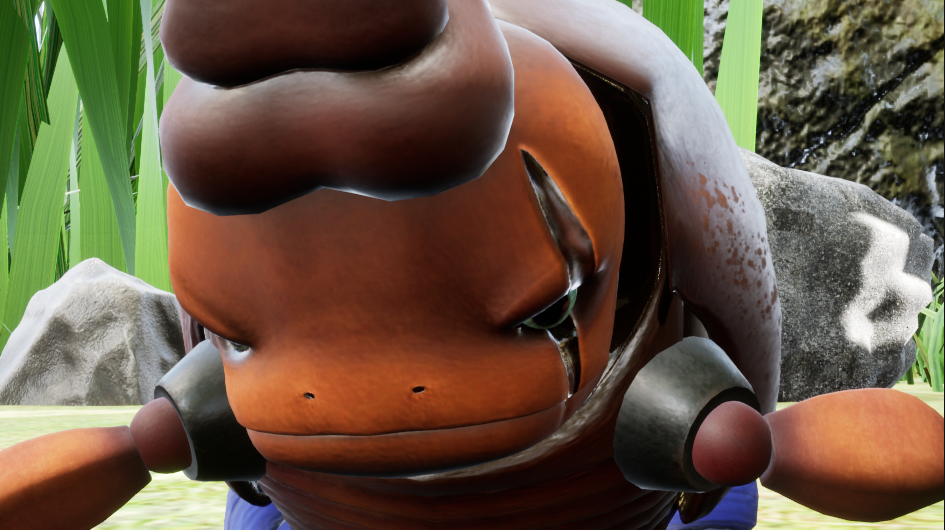
By setting a smaller “Near Clip Plane” value, this problem can be fixed.

Note that this setting also affects the output result of PiRender.
Rendering Settings
Clear Coat Enable Second Normal: When you apply UE4 Clear Coat shading model to your assets, check this option to enable the second normal map. This however will consume more system resources and may affect overall performance.
For more information about Clear Coat shading model, please refer to UE4 documentation: Using Dual Normals with Clear Coat
Support Global Clip Plane for Planar Reflections: Check this option to enable Planar Reflection, which produces more accurate looking reflections at a higher rendering cost.
Support Compute SkinCache: Enabling this feature improves performance at the cost of additional memory. It will be checked by default when using ray tracing.
Maximum Memory for SkinCache (MB): Set the maximum amount of memory for “Compute SkinCache”.
Ray Tracing: Check this to enable real-time ray tracing for the project. Shaders need to be recompiled every time this setting is switched.
Preferences
In “Preferences” tab, you can set the tool behaviors to your preference.

Auto checking when launch PiCheck: When it’s checked, everytime you run the “PiCheck” tool, it will execute all the checking on the currently opened asset or shot. Uncheck this if you rather do it manually.
Close asset creator windows after execution: Check it if you prefer closing the “Static”, “Skeletal”, “GeoLink”, and “Collective Asset” creator windows after creating an asset, or the creator windows will be kept open.
Auto refresh PiView when add/remove lights or assets: Previously you have to click the “Refresh PiView” button to spawn or destroy the actors in PiView after they are added or removed from the shot in Maya. With this option checked, actor spawning and destroying are done automatically.